
Last updated November 16, 2026
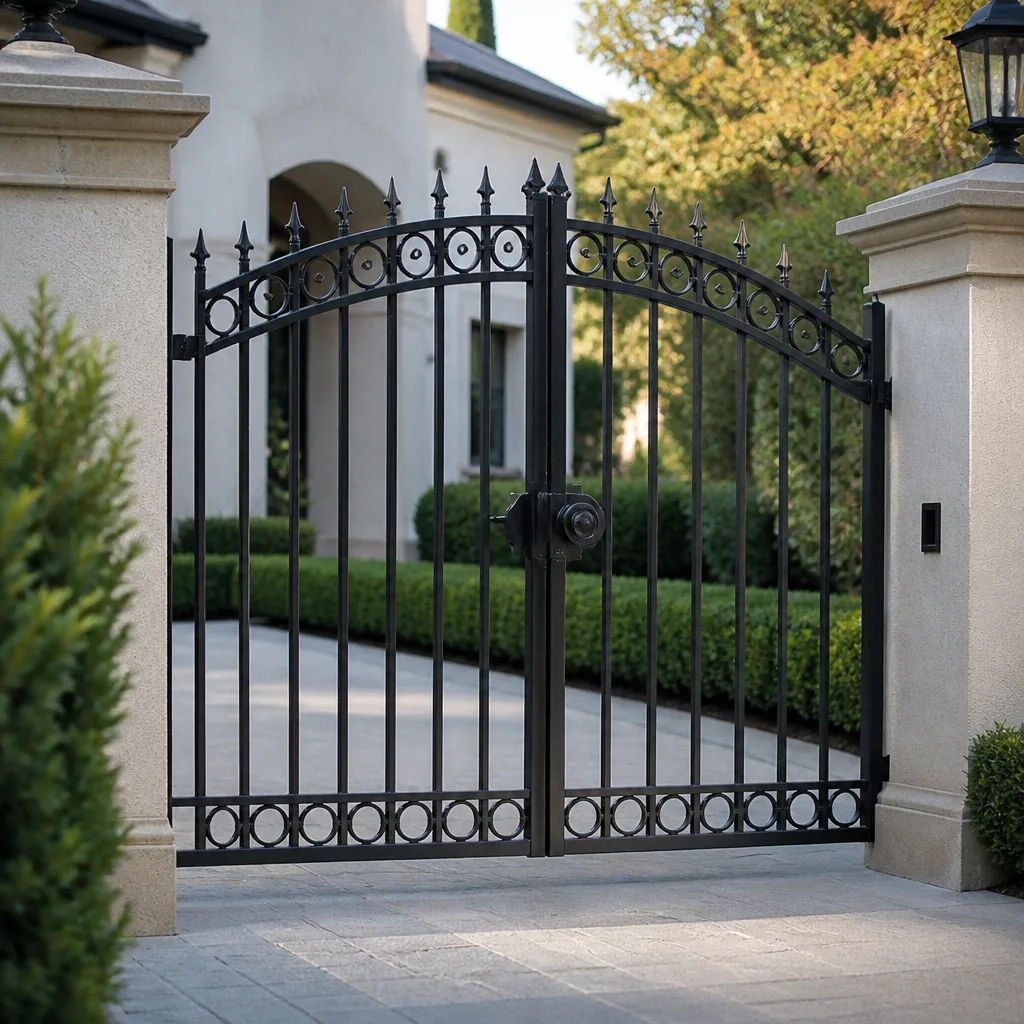 Wrought iron
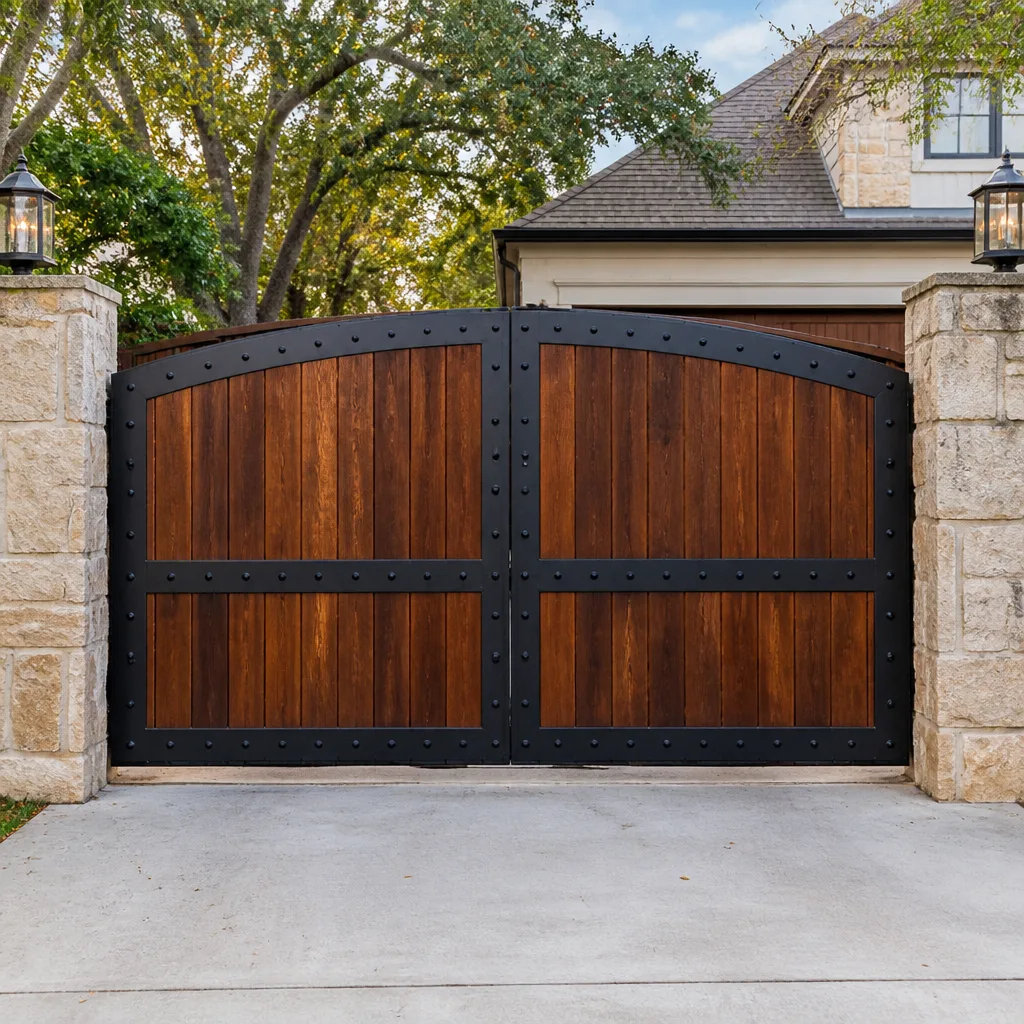 Wood & steel frame
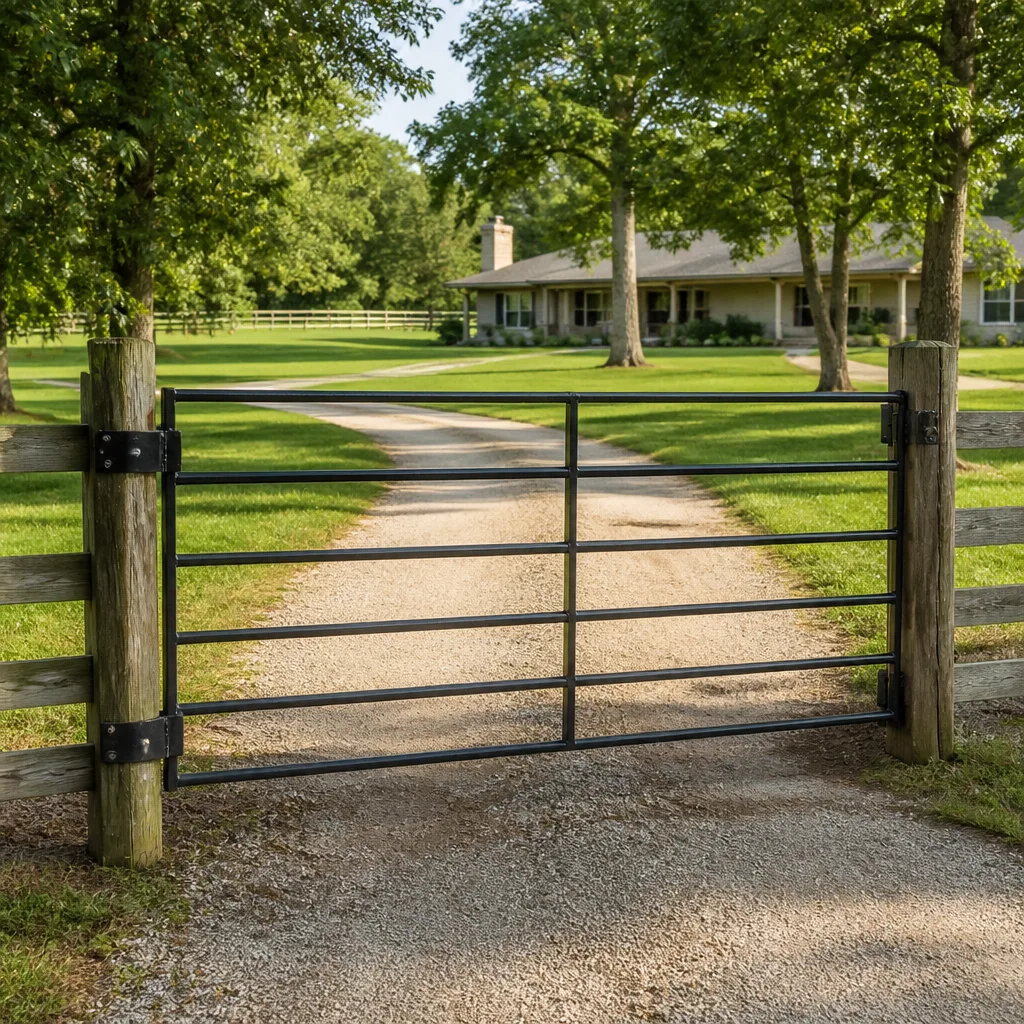 Farm & ranch
 Sliding driveway gates
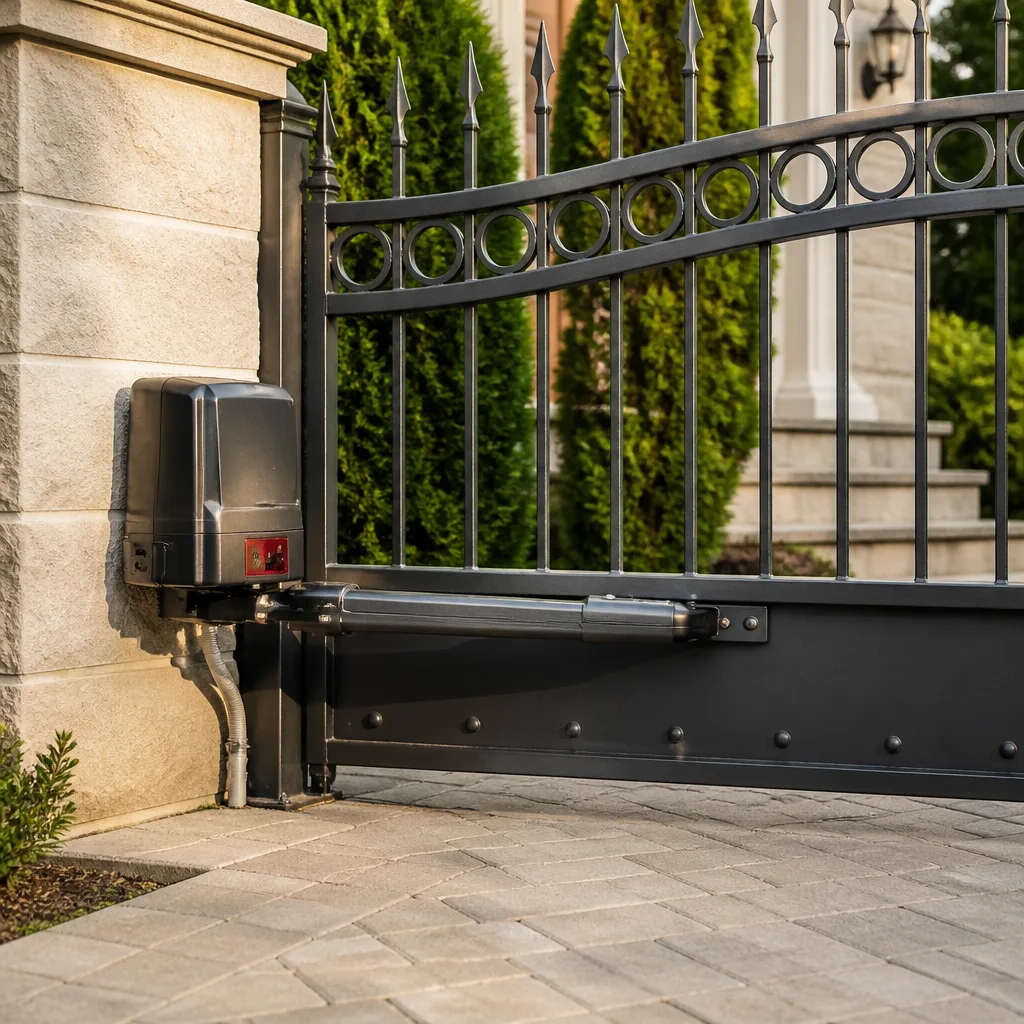 LiftMaster operators
Free on-site gate assessment - hinges, posts, and your LiftMaster or Nice gate operator checked before anything is quoted
The assessment is free and the quote is the invoice.
Get your free estimateGate Repair Maintenance Schedule: What to Do and When
Most gate owners think of maintenance as one annual appointment. That’s the misconception that shortens the life of the operator. Gate systems don’t wear on calendar years, they wear on cycles: every open and close is one cycle, and your operator has a daily cycle rating that tells you far more about its health than the date on the sticker. A swing gate that opens eight times a day climbs past the cycle ceiling much slower than a busy HOA entrance that runs a hundred. This guide breaks maintenance into the three separate modes it actually is (monthly, seasonal, annual), builds a month-by-month plan around how a gate wears in Everett, and explains the checks most owners never make until a motor burns out.
Quick Answer
A gate repair maintenance schedule works in three layers: a monthly walk-around and function check, a seasonal pattern tied to the wet and cold months, and an annual service that covers the operator internals and access-control hardware. In Everett, the two dates to anchor your schedule to are the October pre-rainy-season prep and the February or March post-freeze inspection. Everything else in between is about watching cycle counts, lubrication, and limit switch drift before one of them turns into a hard fault.
Styles & brands we work with
- Wrought iron
- Wood & steel frame
- Farm & ranch
- Sliding driveway gates
- LiftMaster operators
Table of Contents
- Why Your Operator’s Cycle Count Matters More Than Its Age
- The Three Maintenance Modes and What Each One Covers
- Month-by-Month Gate Maintenance for Everett
- The Four Lubrication Points That Matter
- How to Catch Limit Switch Drift Before a Fault
- Why a Maintenance Log Saves You Money Later
- Gate Safety Checks Any Owner Can Make
- Common Mistakes to Avoid
- When to Call a Professional
- Frequently Asked Questions
Why Your Operator’s Cycle Count Matters More Than Its Age
Gate operators are rated for a number of cycles per day, not years of service. That distinction is the single most useful thing a homeowner can learn about gate maintenance, because it reframes the whole schedule. A new operator used four times a day can outlast an older one that runs forty cycles a day, and calendar-based maintenance misses that completely. The loads are different every time the gate moves: frame stress, motor torque, gear wear, and control-board heat all scale with how many times the gate actually operates.
You can estimate your daily cycle count without any equipment. Sit where you can see the gate and tally openings for a typical day. Include every departure, return, delivery driver let in, and landscape crew pass. For a residential driveway that’s often six to twelve; for a small commercial entrance or a property manager’s access point it can climb past fifty. Multiply by the days it’s in use in a week, and you’ll have a working number to build the schedule around. It also tells us something useful when you call.
How to estimate your daily cycles
- Count every full open-and-close sequence on a typical day, including brief openings.
- Add the extra cycles from deliveries, contractors, and visitors.
- Add any automatic recycles, like a gate that reopens after a sensor trip.
- Multiply by the days per week it’s in use, and divide across a full week to smooth out busy days.
- Write the number on the first page of a maintenance log so you can track it against wear over time.
Gates that run tighter cycle counts can stretch farther between deep services. Gates that behave more like a commercial property, especially ones with a heavy slide gate or a LiftMaster or DoorKing access controller, need a tighter loop. We work on both ends of that spectrum, and the schedule below holds in either case; only the frequency changes.
The Three Maintenance Modes and What Each One Covers
The reason most gate failures seem to come at the worst time is that owners try to compress everything into one annual visit. A gate has multiple system layers, and each wears on a different timeline. Splitting maintenance into three modes keeps you from missing a layer simply because it wasn’t part of your single yearly checklist.
Monthly mode: the walk-around
This mode catches the things that need eyes, not tools. A short walk-around every month covers the visible gate face, panel fastenings, hinges and rollers, and the general sound the gate makes in motion. It takes ten minutes. It is the mode that prevents you from finding a loose hinge bolt after it has galled the hinge barrel.
Seasonal mode: pre-wet and post-freeze
In Everett, the seasonal mode splits into two anchors. October is the pre-rainy-season prep, before the long wet stretch settles in. February or March is the post-freeze inspection, when a hard winter or a stretch of ice has stressed the operator’s moving parts. These two visits do the heavy lifting of the yearly schedule and are the ones most homeowners skip. In our experience, a gate that gets both of them rarely produces an emergency call mid-season.
Annual mode: internals and controls
Once a year, the operator internals get looked at properly: the gearbox on FAAC and Linear units, the control-board diagnostics on Viking and BFT operators, and the sensor alignment on any access-controlled gate. This is also where the access-control side gets tested end to end, including the keypad, remote receiver, safety edges, and any intercom or phone entry. For a thorough walkthrough of how the controls side is diagnosed, see electric gate repair. Annual mode is also when the maintenance log gets updated with what was checked, adjusted, or replaced.
Month-by-Month Gate Maintenance for Everett
Everett’s gate season is shaped by wet winters and a mild but persistent damp from October through spring. That means the highest-risk months for mechanical wear are late fall and early spring, when moisture sits on hinges, pivot points, and exposed wiring. The rest of the year is about keeping the gate in steady shape so it survives the two heavy stretches. Here’s how we’d lay it out:
- January: Check hinges, rollers, and tracks for ice binding. Listen for motor strain on the first open of the day. Verify the safety edges trigger correctly.
- February or March: Post-freeze inspection. Look for cracks in concrete footings and pad wear on sliding gates. Confirm the gate stops cleanly at full open and full close. Check frame fastenings after winter movement.
- April: Clean tracks and guide rollers. Lube the four main points (see below). Test all remotes and keypad codes.
- May: Check the control board enclosure for moisture intrusion, since the wet season has just ended. Clear debris from under the gate’s travel path.
- June: Mid-year audit of the safety edges and photo-eye alignment. Tighten any panel fasteners loosened by winter flex.
- July: Clean and re-lube. Test cycle-count changes if your seasonal usage pattern has shifted.
- August: Check operator mounts and the pivot hardware for wobble. Summer heat stresses operators that run heavy cycles.
- September: Pre-rainy-season prep begins. Clear gutters and drainage near the gate posts so water doesn’t pool at the footings.
- October: The heavy prep month. Full lubrication, weather-seal check on the operator enclosure, wiring inspection for sun and moisture damage, and a control-board test on FAAC, BFT, and Linear operators.
- November: Function test after the first heavy rain. Confirm the gate still moves freely when the ground is saturated.
- December: Pre-winter check. Verify battery backup (if equipped) holds a charge and that limit switches haven’t crept during fall use.
If you own a gate in a neighborhood like Silver Lake or along the Mukilteo Boulevard side of Everett, where mature trees drop needles and seed pods through the wet months, add a quick monthly sweep of the track and the operator enclosure to that list. Debris that sits and traps moisture is one of the most common causes of binding on a sliding gate.
The Four Lubrication Points That Matter
Lubrication is where most DIY gate maintenance goes wrong, because the wrong lubricant does more damage than no lubricant at all. Nylon gears and some plastic bushings in certain operators (Viking units, for example, use nylon components in their gear trains) are intolerant of petroleum-based grease, which can soften and deform them over time. Metal rack systems and hinge pins need the opposite treatment. Knowing which point is which is the difference between a smooth gate and a stripped gear.
The four locations
- Hinge pins and pivot points (swing gates): these are metal on metal. A light lithium or silicone grease holds up well here, and reapplying in October before the wet season is the highest-value twelve minutes you’ll spend on the gate all year.
- Guide rollers and track (slide gates): a dry silicone spray is the right choice. Grease here attracts dust and grit, and that grit becomes a grinding paste on the rollers.
- Rack and pinion gear (slide gates with a rack): here the surface is exposed steel and wants a proper gear grease. Nylon rack sections, used by some FAAC and BFT slide operators, want a light silicone, not the heavier gear grease. If you’re not sure which rack you have, ask before you apply.
- Operator gearbox: check the manufacturer’s spec. Most sealed gearboxes don’t need top-up from the owner, and opening them is a technician job. This is one of the points in the annual service, not the monthly walk-around.
What damages which
- Petroleum grease on nylon gears: risk of softening, cracking, and stripped teeth. Avoid on any operator with nylon internals.
- Heavy grease on slide tracks: traps grit, accelerates roller and track wear.
- WD-40 (or similar penetrating oil) as a long-term lubricant: it displaces water but doesn’t hold, so it invites rust on bare steel.
- Silicone on hinge pins: works fine but needs more frequent reapplication than lithium grease in wet months.
If your operator is a brand we don’t list here, hold off on the gearbox until we’ve checked it. We work on the brand you already own, and we’re familiar with the internals of the units most often installed around Everett.
How to Catch Limit Switch Drift Before a Fault
Limit switches tell the operator where the gate is at the end of travel. When they drift (and they all do, slowly, over months and years) the gate doesn’t stop at the same point it used to. It creeps forward on open, or eases back on close. For a while nothing seems wrong. Then one day the operator throws a hard fault, usually “gate open error” or “obstruction,” and the gate won’t move at all. This drift is entirely predictable if you watch for it.
A simple monthly drift test
- Mark where the gate stops at full open and full close with a light pencil tick, or photograph the position against a fixed point on the gate post.
- After a month, run the gate and compare the stop position to the tick.
- Repeat monthly. A consistent half inch of creep over a couple months is normal. A full inch in a single month is a fast drift and should be checked.
- Watch for a gate that “double-taps” at the end of travel or reverses briefly before stopping. Both are signs the limit switch is repeatedly re-reading.
Catching drift early is cheap. Waiting until the operator throws a fault is more expensive, because the fault usually comes with a control-board stress that doesn’t clear cleanly, and sometimes a motor that ran against a limit for a full cycle before stopping. On a LiftMaster or Linear swing operator, drift is often a sign that the arm or the limit cam has loosened; on a slide gate, it’s usually the magnetic limit sensor or a mechanical stop that’s moved. Either way, catching it at the monthly test means an adjustment, not a replacement. Diagnostic skills for this are a big part of why we focus on gate repair as a specialty rather than a side service.
Why a Maintenance Log Saves You Money Later
A maintenance log is a simple document, and it’s the cheapest insurance a gate owner has. Every time the gate is serviced, adjusted, lubricated, or has a part replaced, the entry goes in: date, what was done, what was found, who did it. This isn’t bureaucracy. It changes what happens at three critical moments.
The three moments the log pays off
- Warranty claims: most operator warranties ask for proof of service history. If a gearbox fails at two years and the manufacturer wants to know what maintenance was performed, a log full of annual services and monthly checks is the difference between a covered part and an out-of-pocket replacement.
- Diagnostics: when you call about a malfunction, a log tells us the operator’s service history, cycle count, and last adjustment dates. That saves a return visit and helps us bring the right parts on the first trip.
- Property resale: a gate system with documented service history is worth more to a buyer than an identical gate with an unknown maintenance past. For a residential sale, the log shortens inspection negotiations. For a commercial property in Everett, it’s part of a clean handover to the next property manager.
Keep the log inside the operator enclosure if there’s room, or in a plastic sleeve attached to the gate post. Every entry should include the cycle-count estimate from the last count, so you can trend it against wear.
Gate Safety Checks Any Owner Can Make
A gate carries real danger. A swing gate panel can crush; a slide gate can come off its track; the operator runs on mains power with control wiring and safety edges that are there to stop the gate on contact. We don’t recommend homeowners disassemble an operator or open a control box. But a handful of safety checks are owner-level and worth doing every month.
- Safety edge test: with the gate moving, press a hand against the edge (not the gate panel). The gate should reverse. If it doesn’t, stop using the gate and call.
- Photo-eye test: block the beam while the gate is closing. The gate should reverse or stop.
- Panel and track inspection: look for loose fasteners, bent track, or anything that could catch a panel and force it off the guide.
- Control box check: the enclosure should be closed, latched, and not showing corrosion or water intrusion. Don’t open it to look inside.
If the gate reverses unpredictably, fails a safety-edge test, or shows any sign of running past its limit, stop using it and get a technician out. Anything involving the mains power run, the control board, or the safety edges is a trained-professional job. We’d rather you call than troubleshoot it.
Common Mistakes to Avoid
- Treating gate maintenance as one annual appointment. The three-mode split exists because each system layer wears on its own timeline. Compressing everything into a single visit means the monthly and seasonal checks never happen, and the faults you would have caught early become the ones you discover mid-failure.
- Skipping the October prep. Everett’s wet season sits on hinges and pivot hardware for months. A gate that gets its lubrication and weather-seal check in October rarely binds in January; one that doesn’t, often does.
- Using the wrong lubricant. Petroleum grease on nylon gears is one of the fastest ways to strip an operator. Match the lube to the material, not to what’s in the garage.
- Ignoring limit switch drift. A gate that stops a half inch off isn’t “close enough.” It’s a slow creep that ends in a fault, usually on a morning when you need the gate to work.
- Forgetting the control board housing during the wet season. It’s outside the monthly walk-around, but the enclosure is the operator’s most moisture-sensitive part. A cracked gasket in October becomes a dead board in January.
- Skipping the log. Without entries, the warranty claim at two years is a guess, and the next owner’s inspection has nothing to go on.
- Replacing instead of repairing on a guess. A gate that won’t open isn’t always a dead operator. Often it’s a limit switch, a safety edge, or a loosened hinge pin. Get a diagnosis before you buy a new unit.
When to Call a Professional
Some of this work belongs to you, and some of it doesn’t. The line is pretty clear, and it’s safer to respect it. Call us when any of the following is true:
- The gate reverses unpredictably, or fails a safety-edge test.
- The operator throws a fault code or runs past its limit and won’t stop.
- The gate creeps at the end of travel and you can’t identify the cause.
- The control box shows moisture, corrosion, or is visibly damaged.
- You’re considering replacing the operator and you’re not sure repair wouldn’t do.
- You need the safety edges, keypad, and photo-eyes tested end to end.
- You’re taking over a commercial property and have no maintenance log for the gate.
We work on the brand you already own, whether that’s a residential Ghost Controls unit or a commercial DoorKing access controller. Our technicians have up to experience, and we diagnose before we recommend. From service calls to a full Gate Repair Everett visit, the goal is the same: back to secure in one visit, with a plan you understand. Gate Repair Everett offers free estimates in Everett, so call (844) 834-1197. We answer 24/7. Fast dispatch from 7am to 7pm, Sunday through Friday.
Frequently Asked Questions
October, without question. That’s the pre-rainy-season preparation month, and it’s when lubrication, weather-seals, and wiring get checked before months of wet weather stress the gate. Pair it with a February or March post-freeze inspection and you’ve covered the two riskiest stretches of the year. The rest of the schedule is about catching small issues before they turn into one of those two big visits.
Most gate failures are repairable, and the honest answer is that you need a diagnosis before you decide. A gate that won’t open is more often a limit switch, safety edge, control board, or loosened hinge pin than a dead motor. Our job on the first visit is to establish what’s actually failing, then tell you whether repair or replacement makes sense for the age and cycle count of the unit. Call (844) 834-1197 for a free estimate on either path.
No, and the specific risk depends on the operator. Nylon gears in some units, including certain Viking operators, soften and crack in contact with petroleum-based grease. Metal rack systems on slide gates want a proper gear grease; nylon rack sections want a light silicone. If you don’t know which your gate has, don’t guess. Call and we’ll tell you, and we can do the lubrication correctly on a service visit.
Every month, as part of the walk-around. It’s a two-minute test, and it’s the single most important safety check on the gate. If the gate doesn’t reverse when the safety edge is pressed, or doesn’t stop when the photo-eye beam is blocked, stop using the gate and call us. That’s not a maintenance note, it’s an immediate repair.
Because the failures don’t come from nowhere. Limit switch drift, hinge wear, and moisture in the control box all build up slowly, over months, and go unnoticed until the day the gate refuses to open. A three-mode maintenance schedule catches those slow failures at the monthly or seasonal check, so the fault never reaches the day you need it. That’s the whole reason to build the schedule around how gates actually wear rather than a single annual visit.
Yes, both. We cover swing, slide, and barrier arm gates across residential driveways and small commercial entrances, and we work on the brand you already own across FAAC, BFT, Linear, Viking, and the rest of the major operators. Free estimates are available in Everett. Call (844) 834-1197 to set one up. We answer 24/7. Fast dispatch from 7am to 7pm, Sunday through Friday.
The Bottom Line
A gate maintenance schedule works when it’s built around how the gate wears, not the date on a calendar. That means three modes: a monthly walk-around that catches limit switch drift and safety-edge faults, a seasonal pattern anchored to the October pre-wet prep and the February or March post-freeze inspection, and an annual service covering operator internals and access controls. Add a maintenance log, use the right lubricant on the right materials, and watch your cycle count. Do those things and the gate on your property in Everett will run longer and fail less dramatically than one maintained by a single yearly visit. If a fault has already found you, that’s what we’re here for.
If your gate is acting up, skipping a scheduled service, or showing any of the symptoms in this guide, call (844) 834-1197 for a free estimate. We’ll diagnose it, tell you plainly whether repair or replacement makes sense for your system, and put it back on a schedule you can maintain. Our technicians have up to experience across the brands most often installed in the Everett area. We answer 24/7. Fast dispatch from 7am to 7pm, Sunday through Friday.
Written by the team at Gate Repair Everett.
See the difference
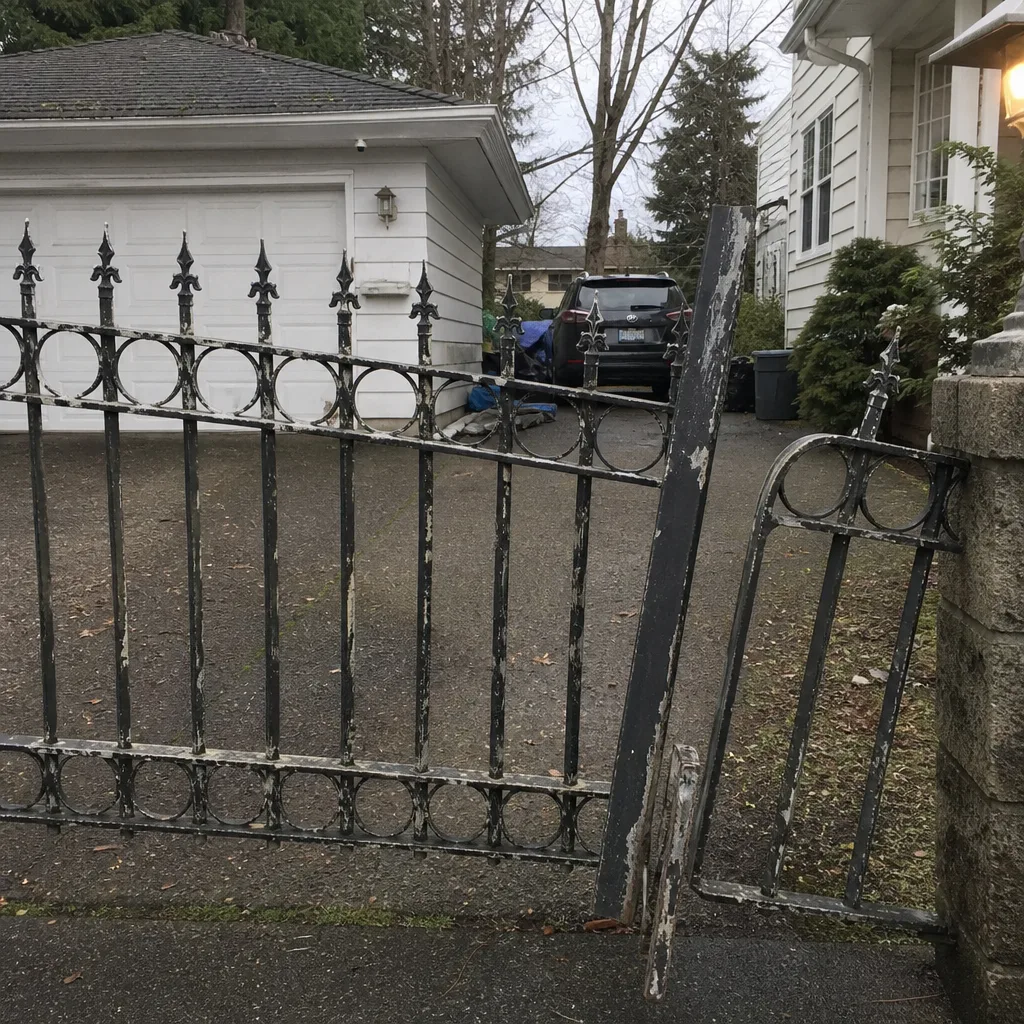 Before
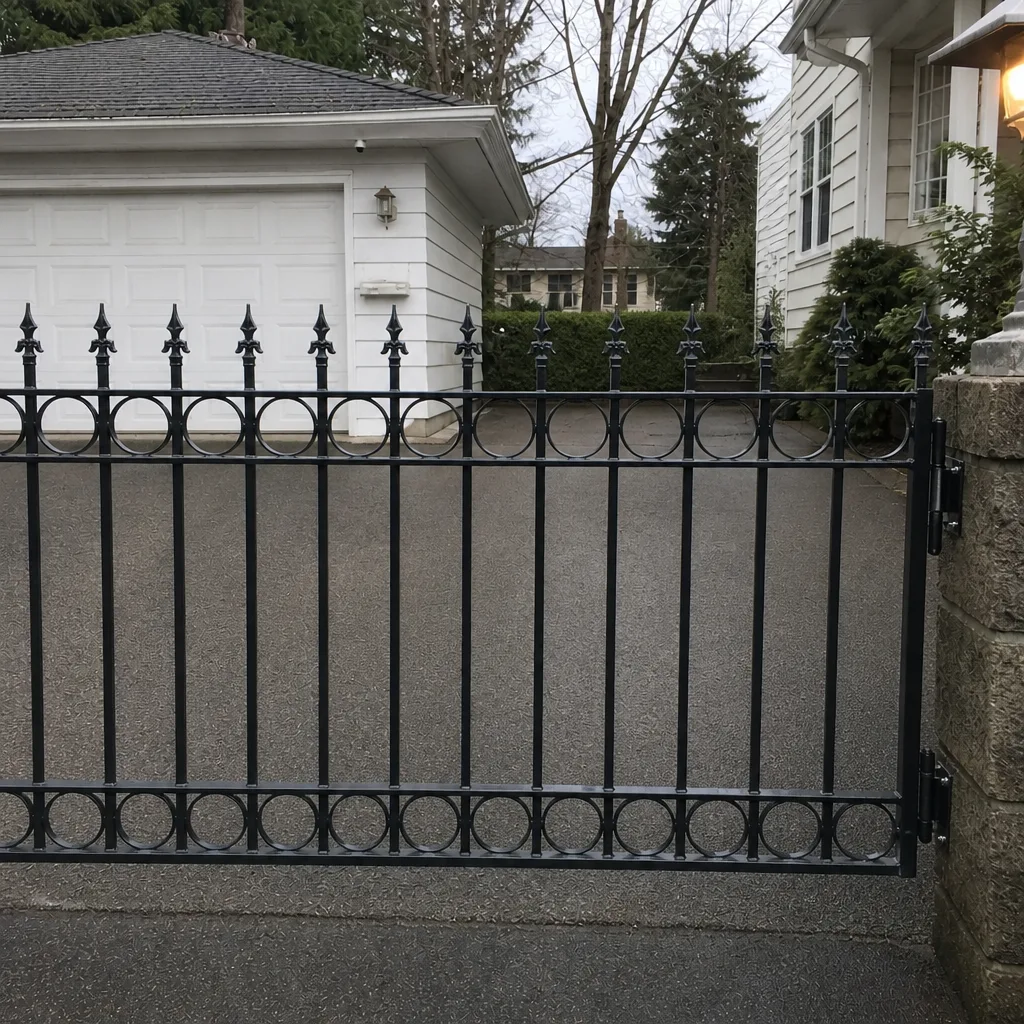 After
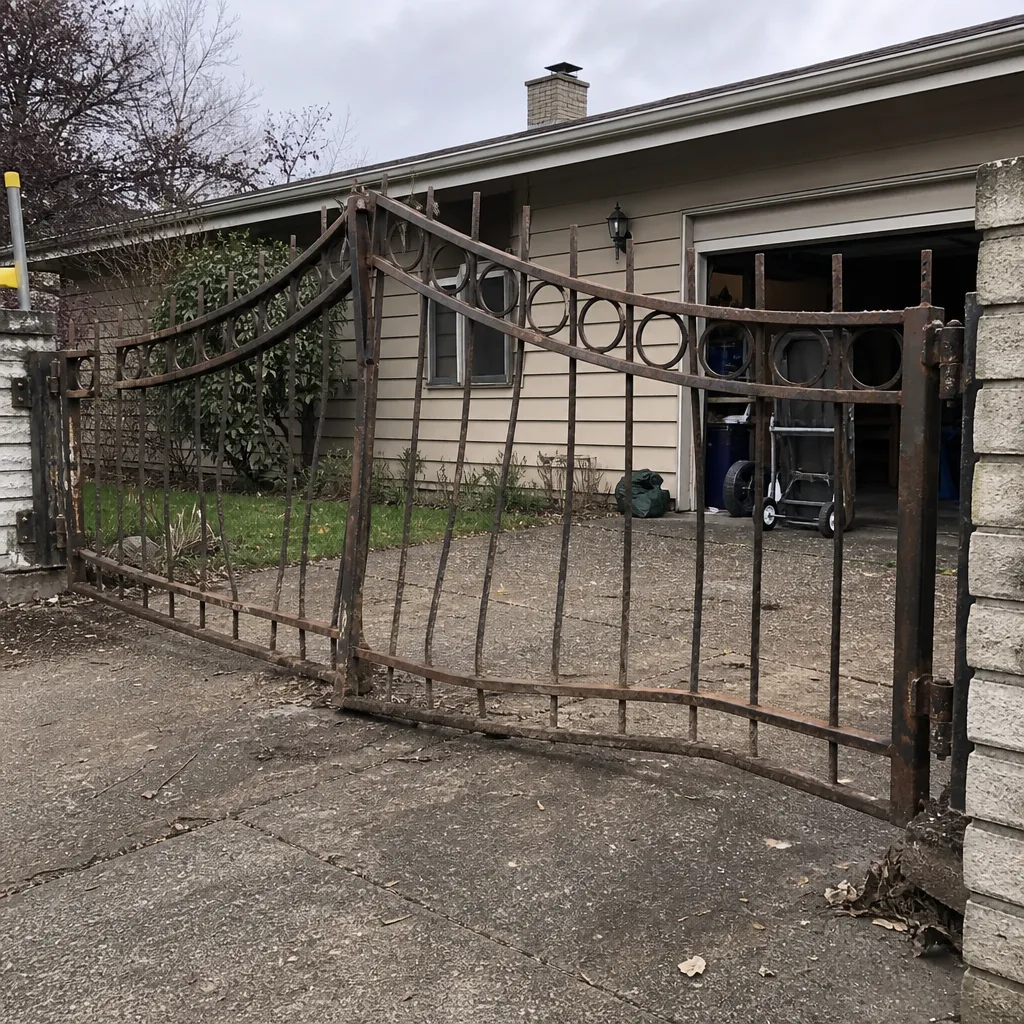 Before
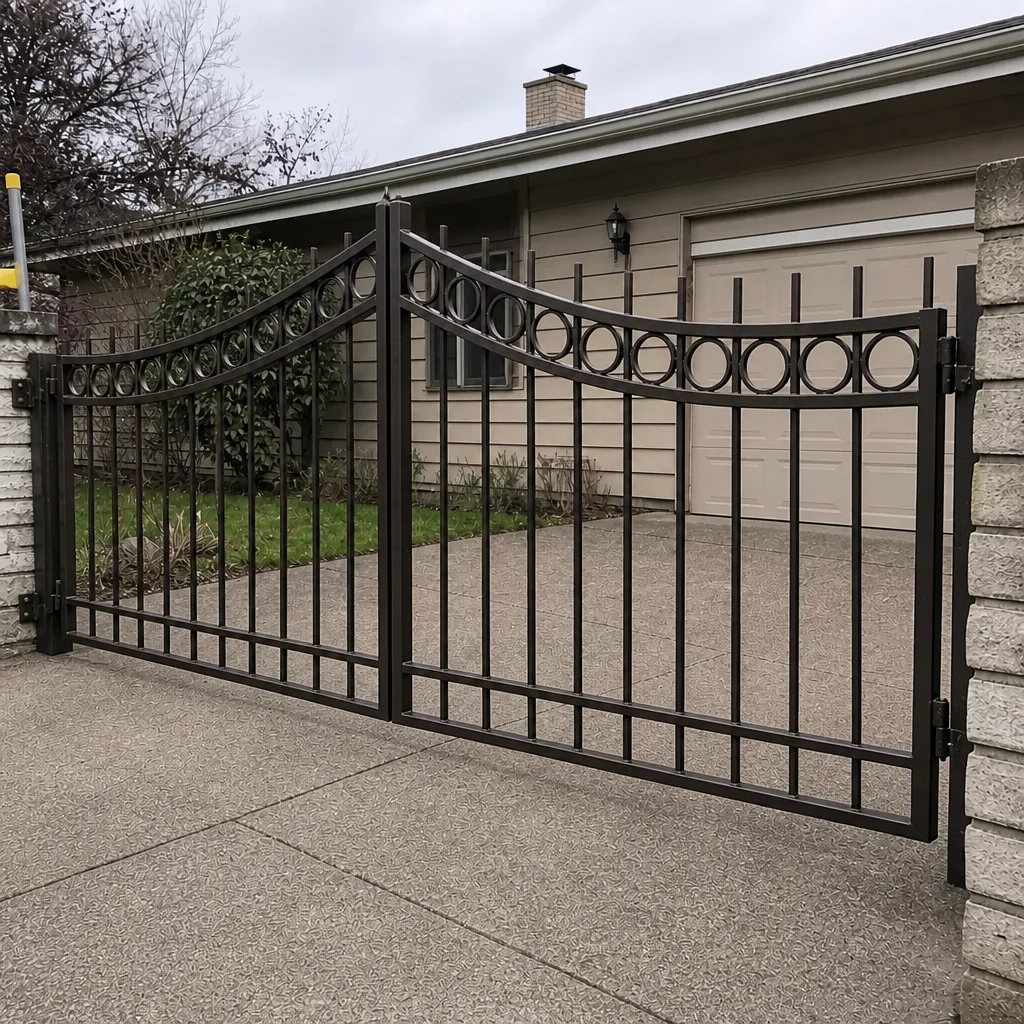 After
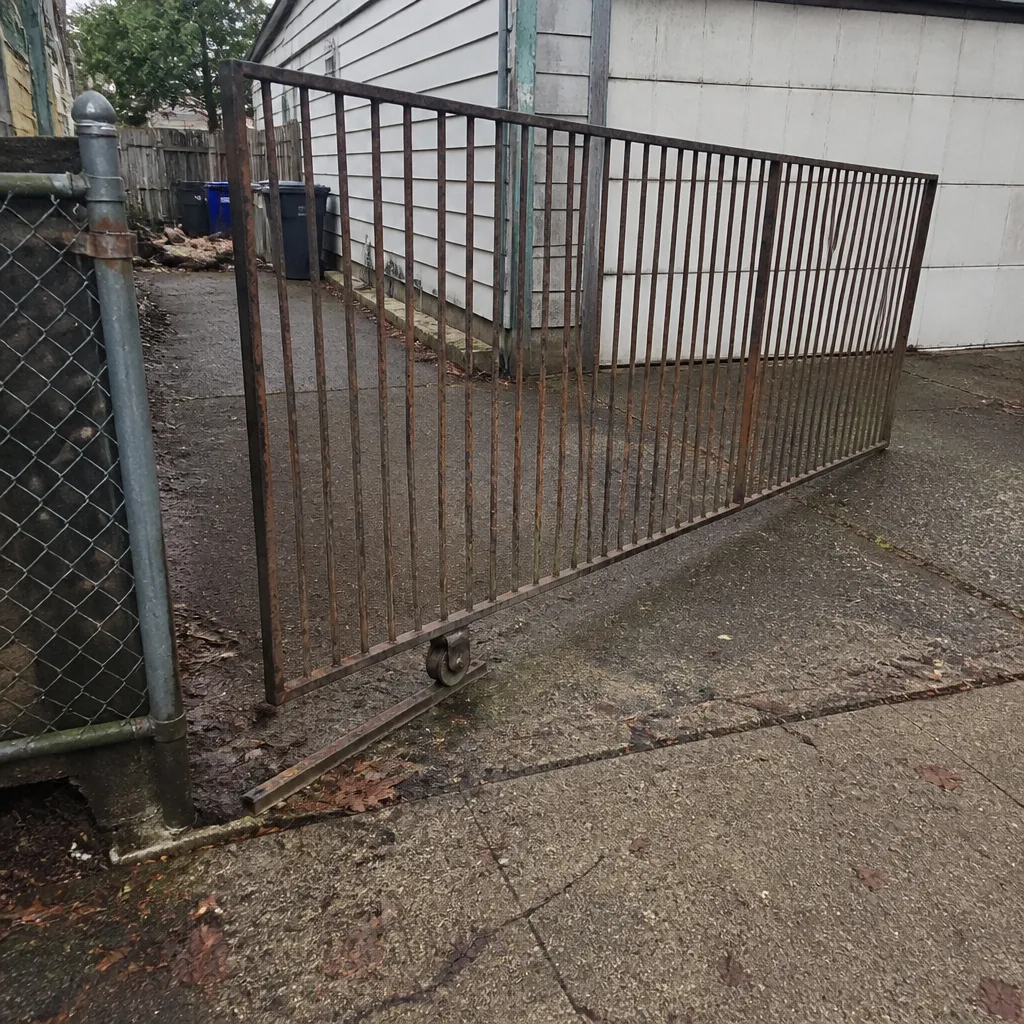 Before
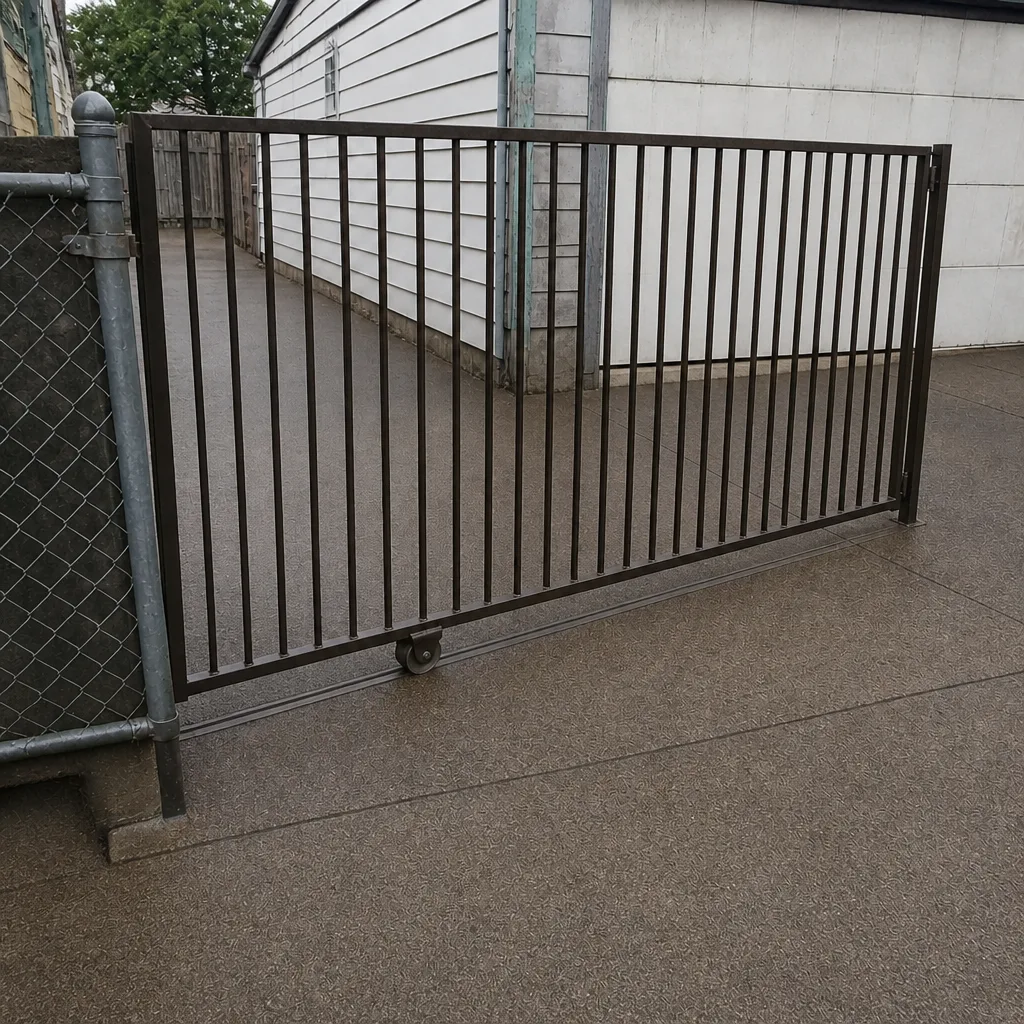 After