
Last updated November 16, 2026
 Wrought iron
 Wood & steel frame
 Farm & ranch
 Sliding driveway gates
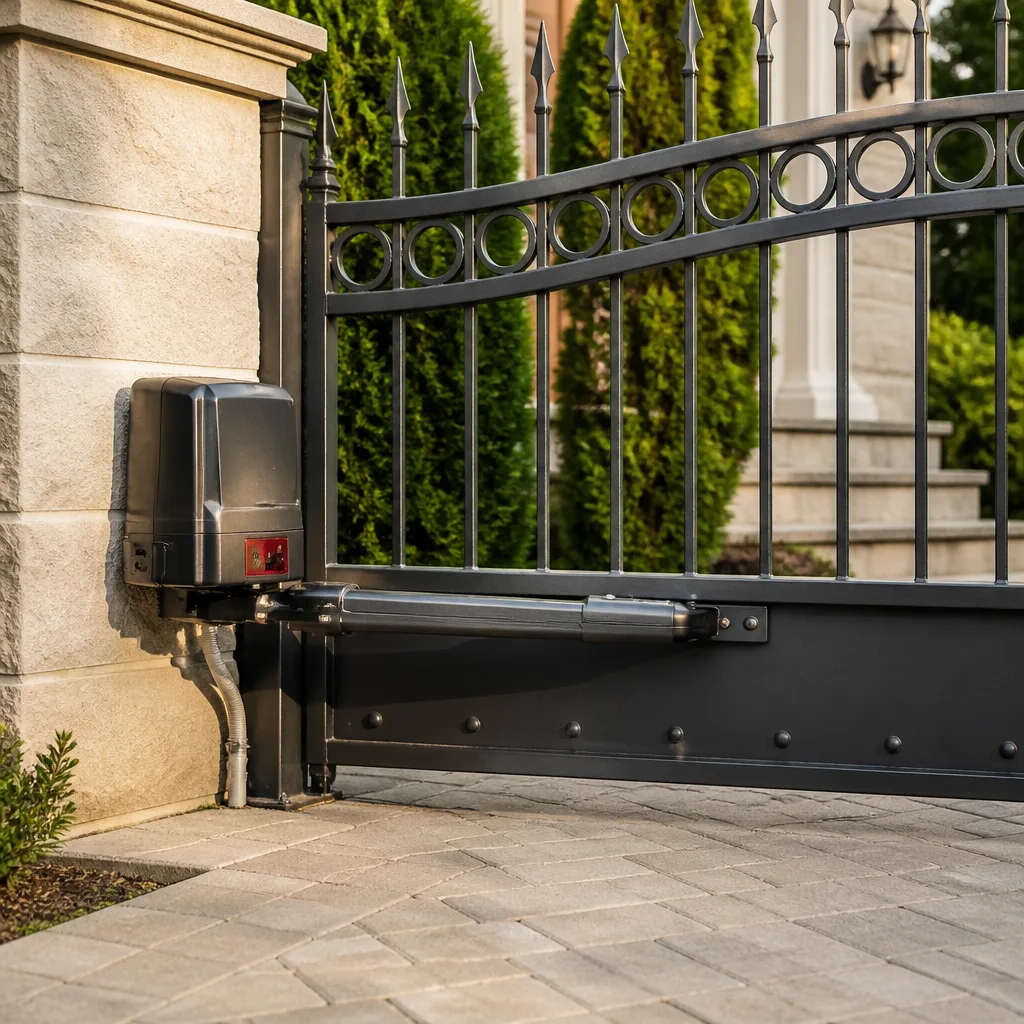 LiftMaster operators
Free on-site gate assessment - hinges, posts, and your LiftMaster or Nice gate operator checked before anything is quoted
The assessment is free and the quote is the invoice.
Get your free estimateDIY vs Professional Gate Repair: The Everett Homeowner’s Decision Guide
Replacing a gate battery yourself is smart. Rewiring a control board yourself because a YouTube video made it look simple is how a $300 repair turns into a $1,400 operator replacement. That’s the split most gate advice online never draws clearly. The real question in Everett isn’t whether you’re handy enough to touch your gate. It’s whether the specific failure in front of you belongs to the mechanical category a homeowner can safely handle, or to the electronics, access-control, and UL 325 safety category that needs diagnostic tools you probably don’t own. In this guide we walk through the task matrix, the tools question, the warranty stakes, and what to test yourself before a technician ever pulls up. By the end you’ll know exactly which jobs are yours and which are ours.
Quick Answer
For an Everett homeowner, the DIY-versus-professional line falls on system type and failure category, not skill level. Basic maintenance on a simple swing gate – swapping operator batteries, cleaning sensors, lubricating hinges and tracks – is genuinely homeowner-accessible. Anything touching operator electronics, circuit boards, limit switch calibration, loop detectors, or UL 325 entrapment protection requires diagnostic equipment and, in practice, a trained technician. Getting that boundary wrong is what turns a small repair into a full operator replacement.
Styles & brands we work with
- Wrought iron
- Wood & steel frame
- Farm & ranch
- Sliding driveway gates
- LiftMaster operators
Table of Contents
- The Task Matrix: What You Can DIY vs What Needs a Technician
- The Tools Gap: Why Professional Diagnostics Rarely Pencil Out for One Repair
- Warranty Stakes: How DIY Work Voids Coverage on LiftMaster and FAAC Systems
- Safety and UL 325: The Tasks That Are Never DIY
- Everett Climate and Gate Wear: What the Local Weather Actually Does
- Pre-Diagnosis: What to Test and Document Before We Arrive
- Electric Gate Repair: When the Symptom Points to the Control Board
- Repair or Replace? How to Read the Signals
The Task Matrix: What You Can DIY vs What Needs a Technician
Here’s the distinction that matters most, and it’s the one most gate advice online skips. A gate has two halves: the mechanical structure (posts, hinges, tracks, rollers, panels) and the automation system (operator, motor, control board, sensors, access control). Homeowners can reasonably handle a slice of the first half plus simple maintenance on the second. Almost all of the second half – once you’re past a battery swap or a sensor wipe – belongs to a technician.
This isn’t about intelligence or confidence. It’s about the failure categories. A hinge bolt is a known problem with a known fix. A control board fault could be one of a dozen root causes, and reading which one requires a multimeter, a schematic, and pattern recognition built from watching the same model fail in the same way before.
Here’s the breakdown:
- DIY-safe: Replacing operator batteries, wiping or repositioning photocell sensors, lubricating hinges and slide tracks, clearing debris, tightening visible bolts, and resetting the operator after a power interruption.
- Technician territory: Limit switch calibration, control board replacement, loop detector tuning, motor or actuator replacement, operator wiring, access-control keypad or intercom programming, entrapment device testing, and any fault that shows up as an error code on the operator.
- Never DIY: High-voltage electrical work at the operator, anything that affects UL 325 entrapment protection compliance, and heavy panel or slide-gate work where a falling gate could injure someone.
If your gate is a simple swing gate with a consumer-grade operator and the problem is visibly mechanical – a sagging hinge, a stuck latch, a battery that’s clearly dead – you can often handle it. If the symptom is electrical, intermittent, or code-driven, it’s ours. We’ll tell you which one you’re facing on the phone if you can describe the symptom.
The Tools Gap: Why Professional Diagnostics Rarely Pencil Out for One Repair
The reason a homeowner can’t reasonably DIY control-board work isn’t a lack of skill. It’s that the tools required to diagnose the problem cost more than the repair itself, and they don’t help you again once the job is done. That’s the practical argument, and it holds regardless of how many videos you watch.
Here’s what a proper diagnostic actually uses:
- A digital multimeter to trace voltage at the operator terminals, confirm the transformer is delivering correct output, and check continuity through the control circuit. Without this you’re guessing at every fault.
- Manufacturer wiring diagrams and control-board schematics for your specific operator model – not the generic one that comes in the homeowner manual. These are model-specific, and the pin layouts differ across brands like LiftMaster and DoorKing.
- A loop detector tester or diagnostic unit to confirm whether an underground vehicle loop is failing or whether the detector itself has drifted out of tune. You can’t tell which one is broken without the tester.
- Access to model-level failure patterns – knowing that a specific operator model tends to fail in a specific way. This is the part you can’t buy. It comes from working across the same product library repeatedly.
Add up the tools and you’re typically spending more than the repair would cost, for equipment that sits in a drawer afterward. That math almost never pencils out for a one-time repair. It’s cheaper to pay for the diagnosis than to buy the toolkit to do it yourself – even setting safety aside.
Warranty Stakes: How DIY Work Voids Coverage on LiftMaster and FAAC Systems
Manufacturer warranties on operator systems are not friendly to homeowner tinkering. LiftMaster, FAAC, and the other major operators warranty their equipment on the assumption that installation and service are done by trained professionals. Opening the operator housing, replacing a control board yourself, or rewiring the operator can void the warranty on the entire operator – not just the part you touched. That’s the risk most homeowners don’t know they’re taking until the operator fails months later and the manufacturer declines the claim.
What actually voids coverage in practice:
- Opening the operator enclosure beyond the battery compartment or the homeowner-accessible terminals.
- Replacing a control board, motor, or limit switch assembly with a non-OEM part.
- Rewiring the operator or changing the low-voltage control wiring.
- Modifying or bypassing the entrapment protection device.
A battery swap or sensor cleaning almost never touches the warranty. Board work almost always does. If your operator is still under manufacturer warranty, that’s one of the strongest reasons to have a technician handle the repair – the warranty is often worth more than the labor difference. We work on the brand you already own, and we’ll tell you upfront whether the repair is warranty-relevant before we start. The price is quoted and agreed before any work begins, so there’s no surprise when the invoice arrives.
Safety and UL 325: The Tasks That Are Never DIY
UL 325 is the safety standard that governs automatic gate operators, and it exists for one reason: gates kill people when entrapment protection fails. A moving gate panel driven by a motor can crush an adult, let alone a child or a pet. The safety systems that prevent that – the photocell sensors, the edge sensors, the loop detectors, the reversal logic in the control board – are the systems most likely to be damaged if a homeowner opens the operator and starts removing parts.
Entrapment protection device testing and UL 325 compliance verification are not homeowner tasks. Full stop. This is genuinely dangerous equipment, not a garage door opener on a track. The correct response to a gate that won’t reverse, won’t stop, or seems to ignore its sensors is to stop operating it and call a technician.
What to do if you suspect a safety fault:
- Stop using the gate. Leave it in the open position if you can do so safely.
- Do not attempt to bypass, disable, or “test out” the sensors.
- Do not open the operator enclosure.
- Call a technician who can test the entrapment system with proper equipment.
We treat safety faults as priority calls in Everett because the consequences of a failed reversal are severe. If you’re unsure whether you have a safety issue, describe the behavior to us over the phone. Electric gate repair is a core part of what we do, and safety-system diagnostics are part of every electric service call.
Everett Climate and Gate Wear: What the Local Weather Actually Does
Everett’s wet winters and damp shoulder seasons do specific things to gate systems that homeowners in drier climates never see. The persistent moisture load drives gate maintenance in ways that matter for the DIY-versus-pro decision, because some of the failures caused by weather are simple maintenance and some are not.
What the Everett climate does to a gate:
- Water intrusion at the operator enclosure. Gaskets and seals that look fine in summer shrink and let moisture in during the wet months. Water inside the operator is the single most common source of control-board failure we see.
- Hinge and roller corrosion. Steel hinges and slide-gate rollers accumulate surface corrosion faster than in dry climates. Lubrication is genuinely important, and this is DIY-safe maintenance.
- Photocell false trips. Condensation on the lens or grime buildup from wet-season splatter causes sensors to misread, and the gate stops mid-travel. Cleaning the sensors is DIY-safe; if cleaning doesn’t fix it, the sensor or wiring is failing and that’s ours.
- Underground loop faults. Saturated soil and freeze-thaw cycling in the Everett area stress the underground loop wire over time. Loop failures show up as a gate that won’t detect a vehicle, which is a diagnostic job, not a maintenance one.
What this means for you: the maintenance tasks the Everett climate makes important – lubrication, sensor cleaning, checking the operator for water intrusion – are mostly the DIY-safe ones. The failures the climate drives – control boards, loop detectors – are the technician ones. That split is convenient, and it should shape how you spend your weekend time on the gate.
Pre-Diagnosis: What to Test and Document Before We Arrive
This is where DIY troubleshooting genuinely pays off, even when you’re calling a professional. The more accurately you can describe the symptom and the sequence that triggers it, the faster the diagnosis goes and the less billable diagnostic time you spend. You don’t need to fix anything. You need to document what’s happening.
Before you call, work through this checklist:
- Note the exact symptom. Won’t open, won’t close, opens halfway and stops, reverses immediately, cycles randomly. “It doesn’t work” is a much longer diagnostic call than “it opens fine but won’t close.”
- Check the obvious. Is the power on? Is the operator in manual or auto mode? Is a keypad or remote failing while the wall button works fine (points to access control) or is the whole system down (points to power or board)?
- Clean the sensors. Wipe the photocell lenses and confirm they’re aligned and not blocked. If cleaning fixes it, you’re done.
- Check the batteries in remotes and keypads. A surprising number of “the gate is broken” calls are dead remote batteries.
- Look for an error code. If the operator has a display or diagnostic LED, note what it shows. That single data point can shortcut the whole diagnosis.
- Note what changed. A power outage, a storm, a new remote, a recent landscaping job that might have damaged a loop or sensor wire, or a recent vehicle hit.
Bring that list to the call. If you can tell us the make and model of your operator – many of the brands we work with, from Mighty Mule to DoorKing, have distinct model-level failure patterns – we can often tell you on the phone whether it’s a technician visit or a homeowner fix. Either way, the written estimate we set before any work starts reflects the actual repair, not a diagnostic fee. Gate repair in Everett starts with a free estimate, and so does everything else on this page.
Electric Gate Repair: When the Symptom Points to the Control Board
Electric gate repair is where the DIY line gets hardest for homeowners to judge, because “it’s electrical” covers a huge range of jobs. Some electrical symptoms are simple. Most aren’t. The question to ask yourself is: does the symptom point to a specific known part, or to the control system as a whole?
Signal-by-signal breakdown:
- Gate won’t respond to remotes but the wall button works. Usually access-control side – remote, receiver, or keypad. Sometimes a homeowner fix with a fresh battery, sometimes a technician job if the receiver or keypad has failed.
- Gate cycles randomly or opens on its own. Almost always a control-board or loop-detector issue. Technician job.
- Gate reverses immediately on closing. Entrapment protection fault. Do not ignore, do not bypass. Technician job.
- Gate dead, no LEDs on operator. Power or board fault. Check the breaker first (homeowner), then it’s a technician job.
- Gate runs but at the wrong speed or in the wrong direction. Limit switch or board configuration fault. Technician job.
What separates the technician cases from the homeowner cases is diagnostic depth. We carry the equipment to trace the electrical fault to the board level and the pattern recognition to recognize it fast. This is where brand-specific expertise really shows: an operator board that fails a certain way on a LiftMaster unit doesn’t necessarily fail the same way on a FAAC or a DoorKing. Knowing the difference is the difference between one visit and two. In our experience, most Everett homeowners who think they have a “simple electrical problem” are facing one of the technician cases.
If you need Everett electric gate repair, call us before you open the operator housing. We answer 24/7, and we’ll help you figure out whether you’re looking at a DIY fix or a service call.
Repair or Replace? How to Read the Signals
One question we field constantly is whether a failing operator is worth repairing or whether it’s time for a new one. That answer doesn’t come from the repair cost alone. It comes from the system’s age relative to its designed life, the type of failure, and whether the parts are still available. Here’s the honest read.
Repair makes sense when:
- The failure is a single component – a motor, a board, a sensor – and the rest of the system is sound.
- The operator is a current model with parts still available from the manufacturer.
- The gate structure itself is in good shape, so the operator is the only weak link.
- The failure is a known model-level issue on a brand we work on, so we can predict the fix reliably.
Replacement makes more sense when:
- The operator has failed multiple ways in a short span – board, then motor, then sensors – indicating end-of-life.
- Parts are discontinued for that model, so a repair may last a few months at best.
- The gate structure needs work anyway, so combining the operator replacement with the gate work is more economic than two separate calls.
- The current operator is undersized for the gate and has been failing for that reason since installation.
We’re honest about which one actually makes sense. We don’t sell replacements when a repair will do, and we don’t pretend a repair is viable when the operator is telling us it’s done. That’s the diagnostic partner part of this work, and it’s part of what Gate Repair Everett brings to every call. For a residential operator near its end, replacement is often a better spend than a third repair in three years.
Common Mistakes to Avoid
- Opening the control-board enclosure to “look.” Even a look can void the manufacturer warranty on a LiftMaster or FAAC operator. Leave the housing closed unless you’re changing the battery or checking the homeowner-accessible terminals.
- Disabling or bypassing a safety sensor. If your gate reverses on a phantom obstacle or won’t close, the sensor or the board is telling you something’s wrong. Bypassing the sensor doesn’t fix it, it removes the protection that keeps someone from getting hurt.
- Replacing a control board with a non-OEM part. A generic board may fit the terminals but behave differently from the original – and it will almost certainly void the warranty. Match the exact model for the operator you own.
- Assuming a dead remote is a dead operator. In Everett, we see plenty of calls where the operator is fine and the remote, keypad, or receiver is the actual fault. Test the wall button before calling – if the gate responds to the wall button, the operator is fine.
- Skipping lubrication because the gate “still works.” The damp Everett climate accelerates corrosion on hinges and tracks. A gate that operates fine today without lubrication is a gate that will seize in a year. This is the maintenance DIY is actually good for.
- Ignoring an error code on the operator display. That code is the fastest route to the correct repair. Note it and tell us what it says – it can save diagnostic time and get you back to secure faster.
- Doing a repair without checking the warranty first. Before you touch anything on an under-warranty operator, check whether the work would void coverage. Sometimes the warranty is worth more than the repair cost.
See the difference
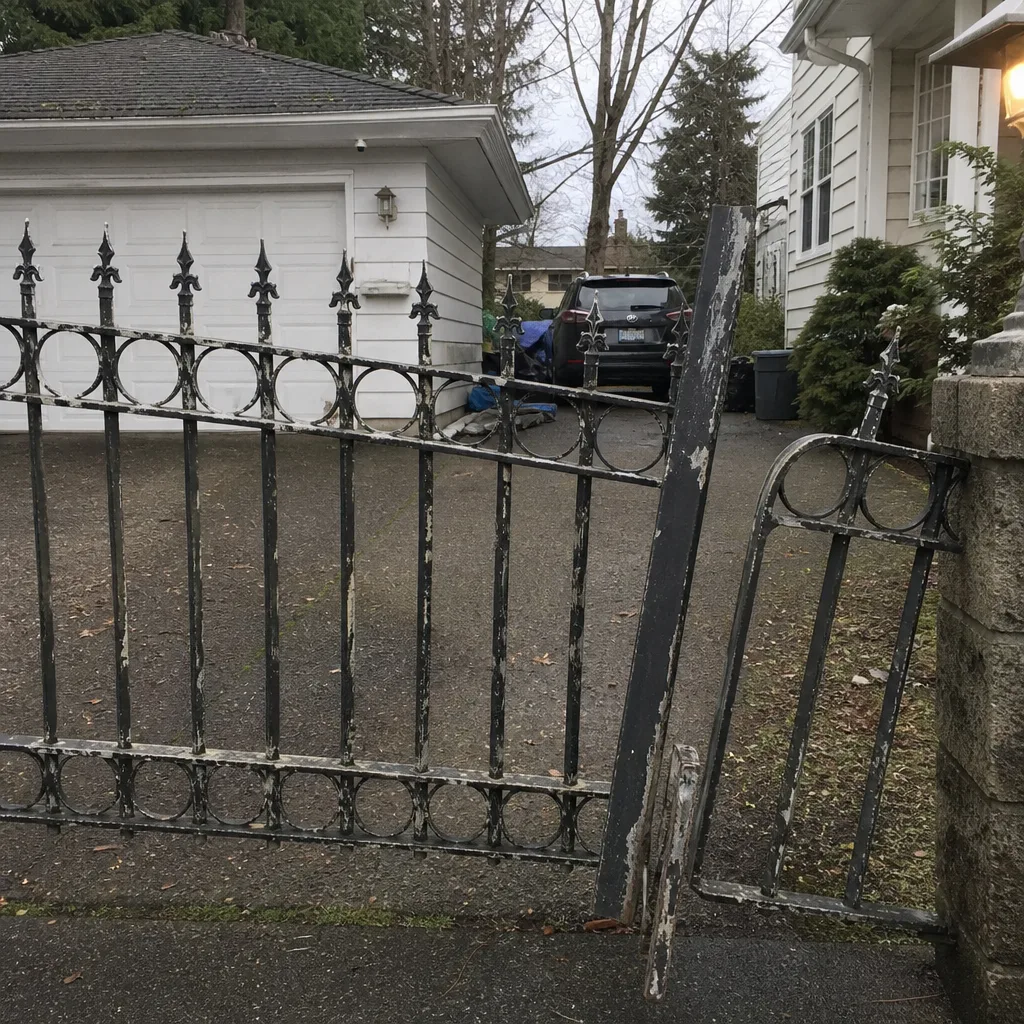 Before
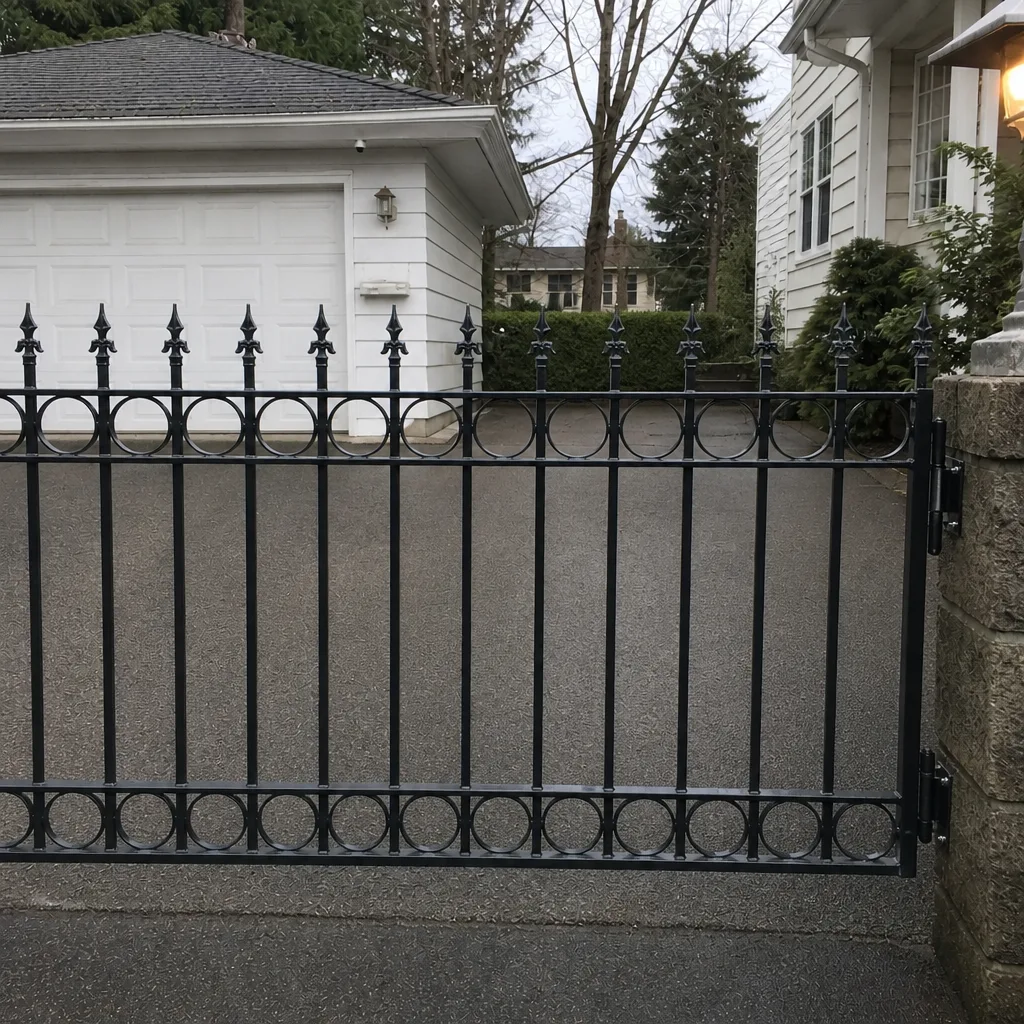 After
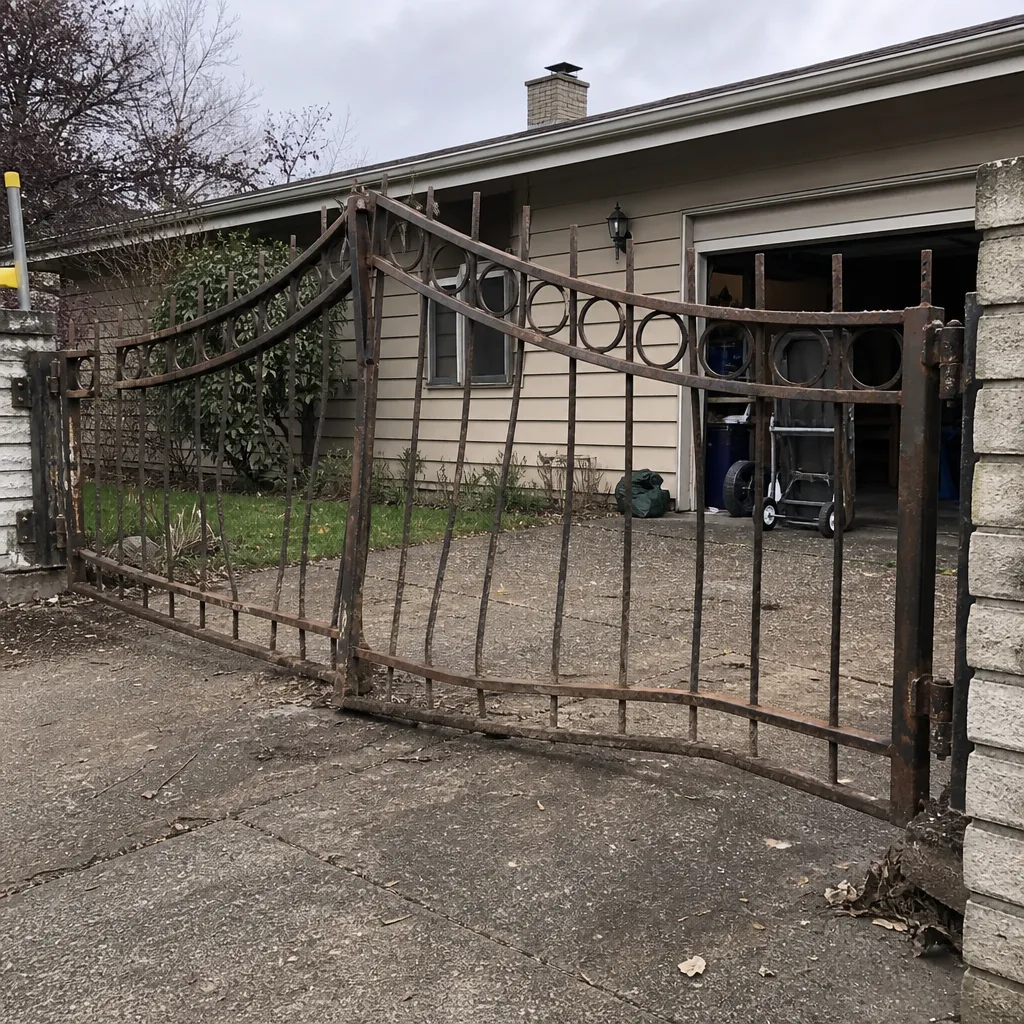 Before
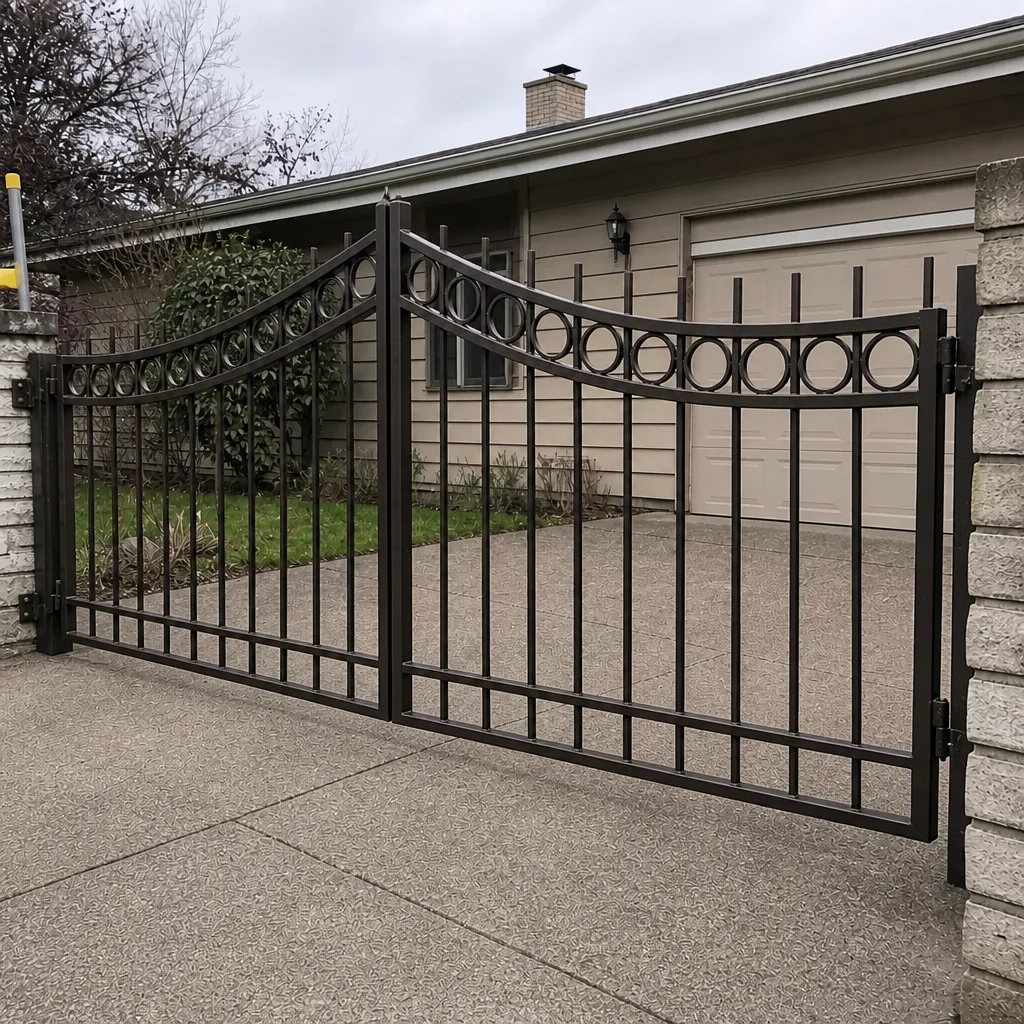 After
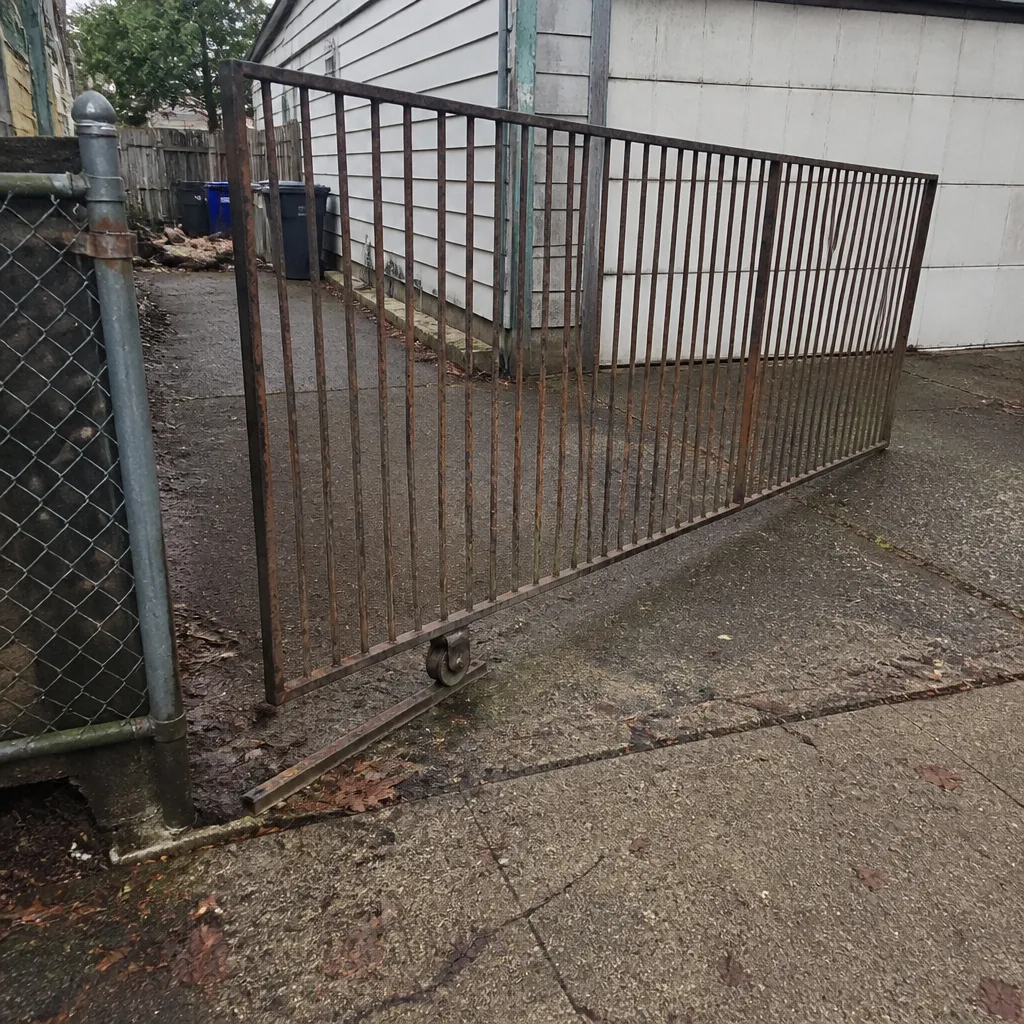 Before
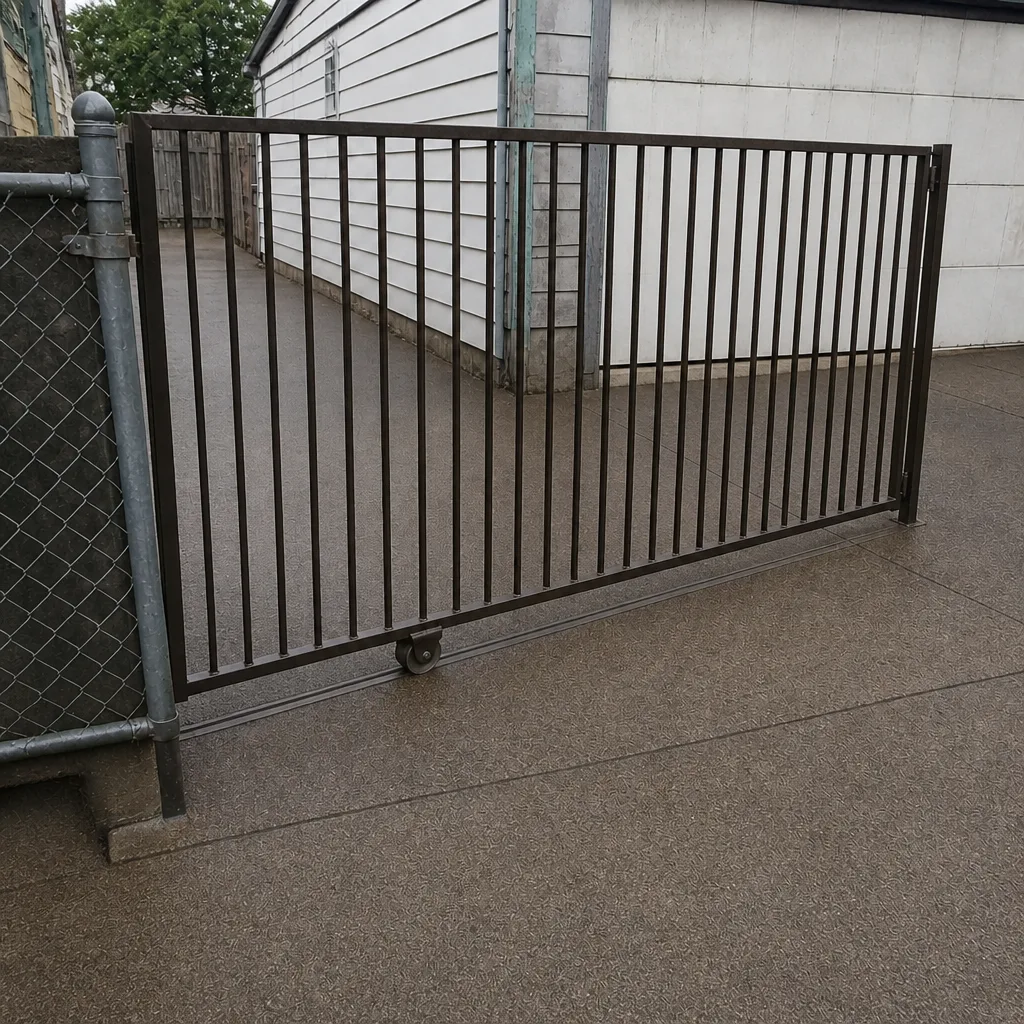 After
When to Call a Professional
Call a professional when the symptom points to operator electronics, when the gate involves access control or loop detection, when the gate is under manufacturer warranty and board work would void it, and any time a safety system – photocell, edge sensor, reversal logic – is involved. Call us if you’ve cleaned the sensors and the gate still misbehaves, if a control board fault is showing on the operator display, if a slide gate has come off its track, if the operator was hit by a vehicle, or if your electric gate won’t respond reliably to a remote, keypad, or intercom. Also call if you’re simply unsure whether the job is DIY-safe – that call costs nothing, and it’s often the fastest way to know. Gate Repair Everett offers free estimates in Everett – call (844) 834-1197.
Frequently Asked Questions
Yes, replacing the operator battery is a homeowner-accessible task and one of the few operator repairs we’d tell you to do yourself. It almost never voids the manufacturer warranty. Follow the operator’s manual, disconnect power first, and use the correct replacement battery for your model. If the gate still won’t work after a fresh battery, the problem isn’t the battery, and that’s when you should call.
You can’t reliably tell from the outside, and that’s the honest answer. A control board can fail in ways that look like a sensor fault, a limit switch fault, or a loop detector fault. The diagnosis requires a multimeter and the wiring diagram for your specific model. If your gate is cycling randomly, opening on its own, or showing an error code, it’s likely a board or board-adjacent fault – but a technician needs to confirm it. Call (844) 834-1197 for a free estimate and we’ll diagnose it properly.
Many DIY repairs on LiftMaster, FAAC, and other major-brand operator systems can void the manufacturer warranty on the operator, particularly opening the enclosure, replacing non-OEM parts, or rewiring the control circuit. Battery swaps and sensor cleaning are generally safe. Check your operator’s warranty documentation before doing anything beyond those, and if you’re unsure, call us before you start. The written estimate we set is a safer spend than a voided warranty.
Every gate repair is priced per job after we see the gate and diagnose the fault, and the written estimate is agreed before any work starts. There is no diagnostic fee, no service-call charge, and no trip charge – the estimate is free. Different faults fall into different ranges, but we won’t quote you a number until we’ve looked at the gate. Call (844) 834-1197 to book a free estimate.
No. Disabling the photocell or edge sensor removes the entrapment protection that keeps the closing gate from crushing a person or pet. UL 325 exists specifically because that protection matters. If your gate won’t close because the sensor keeps triggering, the sensor or the wiring or the control board is failing and needs diagnosis. Leave the gate in a safe state and call us – safety-system faults are priority calls.
Often yes – same-day service is common for electric gate faults, and we prioritize safety and access issues over maintenance. We answer 24/7. Fast dispatch from 7am to 7pm, Sunday through Friday. A call outside dispatch hours is booked into the next opening. Underlying electrical faults are diagnosed on the first visit, and we come prepared with the diagnostic tools and pattern recognition for the brand you own – Mighty Mule, Elite, LiftMaster, and many more.
The most common mistake we see in Everett is opening the operator housing to “look at” a fault, then finding the warranty voided or a loose connection made worse. The second is attempting to fix a limit switch or loop detector without the right tools, which almost always ends in a second visit anyway – often after more damage than the original fault. A close third is skipping lubrication during the wet months, which lets corrosion seize a hinge or track that was previously fine.
The Bottom Line
The DIY-versus-professional question for gate repair comes down to one test: does the failure live in the mechanical orbit or the electronic one? Battery swaps, sensor cleaning, and lubrication belong to you; limit switch calibration, control board replacement, loop detector tuning, and anything touching UL 325 entrapment protection belong to a trained technician. Getting that split right keeps small repairs small, preserves your manufacturer warranty, and keeps a family safe. Pre-diagnosis before a service call is genuinely valuable – the more specific your symptom description, the faster the fix. And when the gate needs a professional, we’re here. Call (844) 834-1197 for a free estimate from Gate Repair Everett.
Written by the team at Gate Repair Everett.